Distance Learning Equipment Guide

Before logging into the computer, please make sure that both TV’s are turned on. The TV remotes should either be in the tray underneath the touchscreen or near the computer. Example:  When you are ready to use the microphones, push and hold the power button for three seconds. Headset mic: The […]

  • Before logging into the computer, please make sure that both TV’s are turned on. The TV remotes should either be in the tray underneath the touchscreen or near the computer.
    Example: 
    dl-tvremotes
  • When you are ready to use the microphones, push and hold the power button for three seconds.
    • Headset mic: The power button is located on the top of the body pack and turns green when ready. Press once to mute it (light turns orange) and then press again to unmute.
      Example: 
      dl-bodypackmic
    • Table top mic: The power button is located on the underside, the light on the topside turns green when ready. To mute, press the “Push” button once and the light will turn red, press again to unmute.
      Example:
      dl-tabletopmic-bottom.jpgdl-tabletopmic-top
    • IMPORTANT: Please power off all the wireless mics when done.
  • To switch between cameras in the room, press the buttons on the pod near the keyboard and mouse.
    Example: 
    dl-podbuttons

    • The top, blue button is a Picture-In-Picture toggle switch, which will show the zoomed shot of the instructor and the wide shot of the students by default. You can cycle the cameras while PIP is enabled. You can toggle PIP off by pressing the top, blue button again.
    • The black floor mats under the TV’s and near the computer will also automatically change the cameras.

Troubleshooting

  • One or more of the displays are not showing or the layout of the displays is off.
    • Please shutdown the computer (not restart) and then make sure the TV’s are turned on and then turn the computer back on.
  • Wireless microphones not working.
    • Make sure they are turned on and are not muted on both the microphone and in the software on the computer. If the microphones are not turning on, they might need new batteries.

Accessing Your Program Evaluation

Using Self-Service’s Student Planning, students can see which courses are required for their degree program and how the courses they have already completed have been applied toward their degree requirements.  As new transfer credit is evaluated or Vermont State College courses are completed, the Student Planning page is updated. To […]

Using Self-Service’s Student Planning, students can see which courses are required for their degree program and how the courses they have already completed have been applied toward their degree requirements.  As new transfer credit is evaluated or Vermont State College courses are completed, the Student Planning page is updated.

To access your program evaluation in self-service:

  • Visit the self-service portal and sign in using your VSC credentials
  • Select Student Planning tile

student planning tile for student self service portal

  • Go to My Progress

my progress information for student self service portal

  • My Progress provides a glance of your academic progress

at a glace information for student self service portal

  • Specific requirements are listed under various program bars
  • Courses that do not fall into a specific category are under other courses at the end of the requirement list
  • Follow this tutorial for more specifics on student planning

New Student IT Training Checklist

Each numbered item corresponds to the printed checklist given out during orientation. Checklist 1. Activate your account 2. Canvas 3. Email 4. Plan Your Degree 5. Registration 6. Finances 7. Health and Wellness 8. Academic Support 9. Wireless 10. Network Drives and OneDrive 11. Printing 12. Educational Software 1. Activate your […]

Each numbered item corresponds to the printed checklist given out during orientation.

Checklist

1. Activate your account
2. Canvas
3. Email
4. Plan Your Degree
5. Registration
6. Finances
7. Health and Wellness
8. Academic Support
9. Wireless
10. Network Drives and OneDrive
11. Printing
12. Educational Software

1. Activate your account

  • Navigate to portal.vsc.edu
  • Click “New users: Activate your account here” underneath the “Login” button.

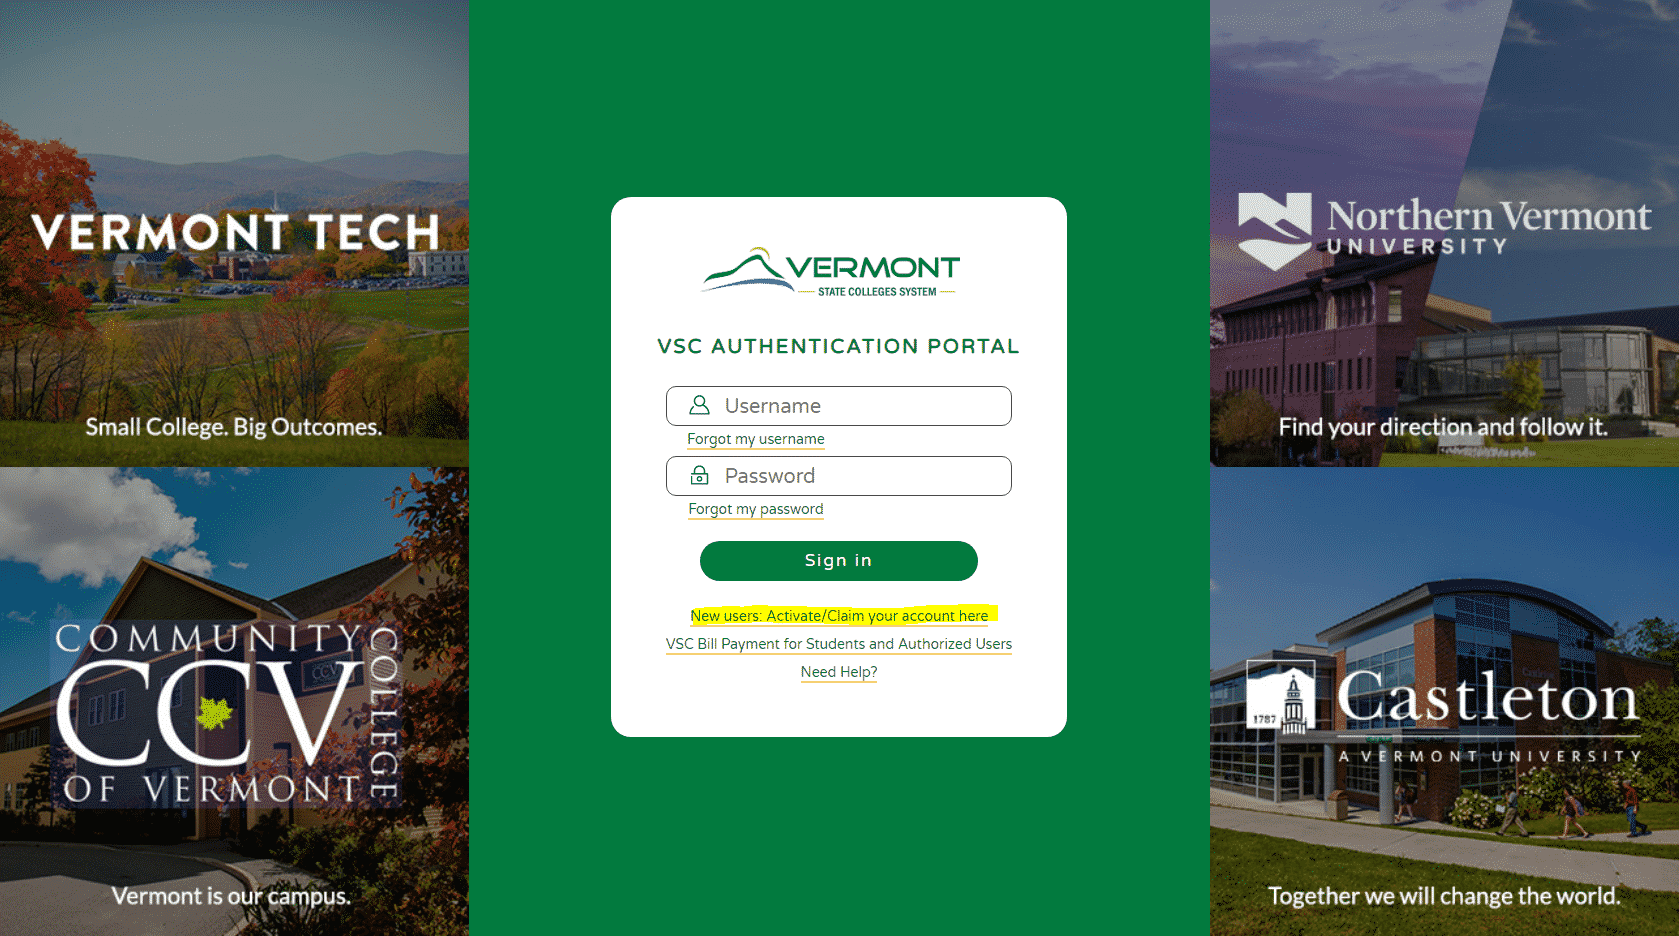
  • Fill in the required information and go through the four activation steps.
    • If you do not know your College ID number or if you already have a personal email address and mobile phone number on record that you need to update, please call the Key Student Services Center at (802) 728-1302 or visit them in the Key Student Services Center, located in the first floor of the Administration building on the Randolph Center campus and they can assist you.
  • After you finish setting up your password and security questions, please go to portal.vsc.edu and sign in to continue to the next step.
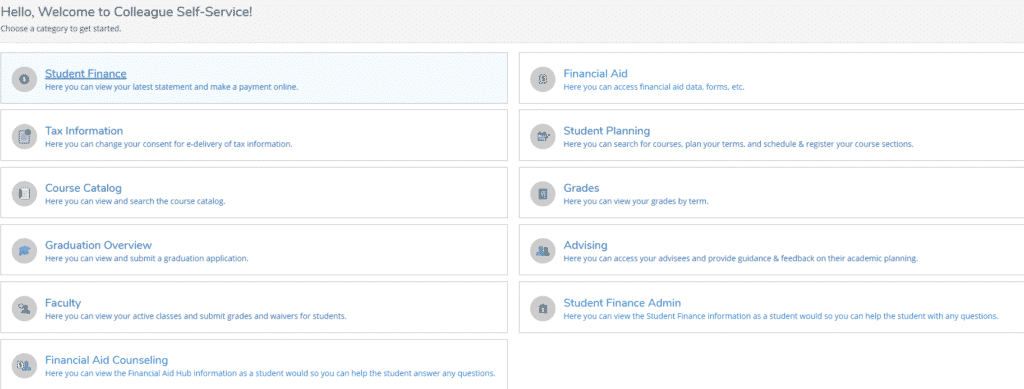
2. Canvas

  • Canvas is our Learning Management System, where you access your classes, homework, tests, and other course information. Simply click the Canvas tile in the portal to access Canvas.
  • You can also access Canvas directly by going to vsc.instructure.com
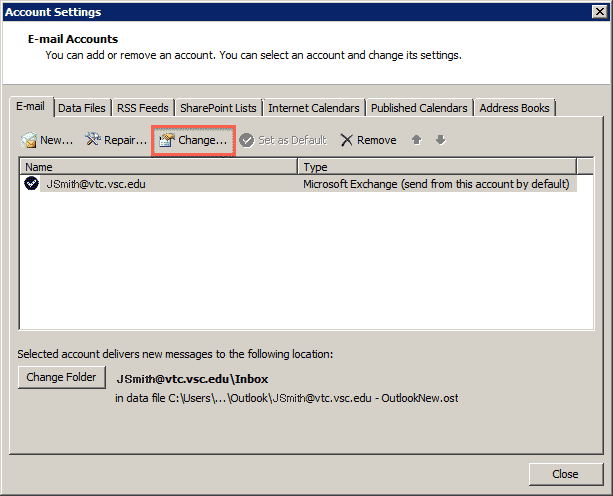
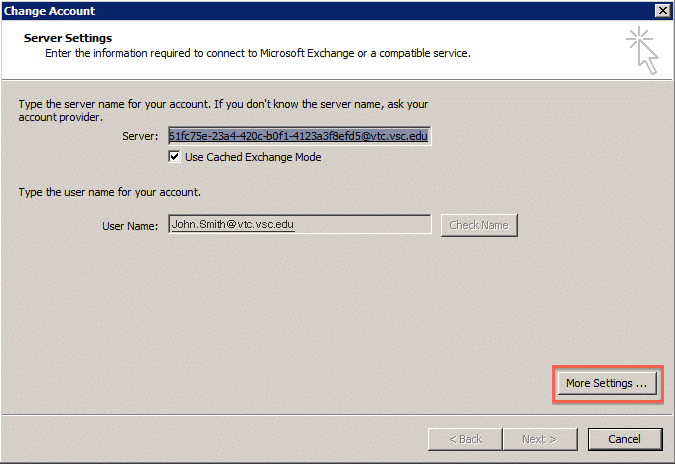
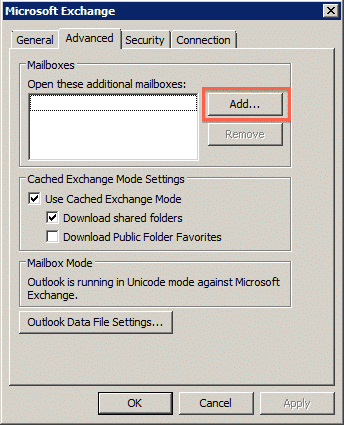
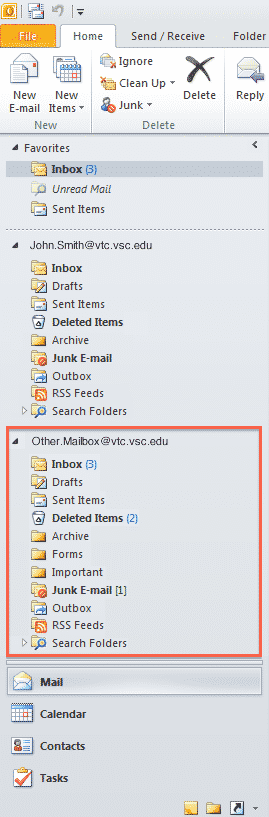
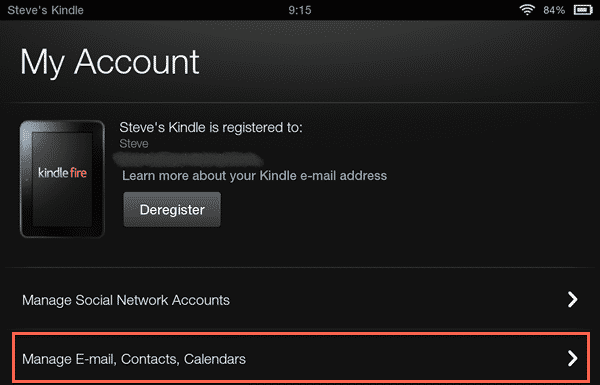
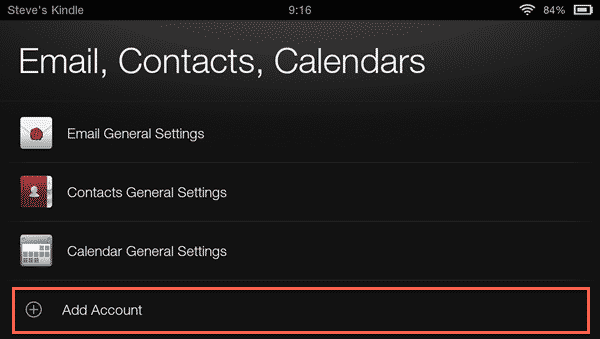
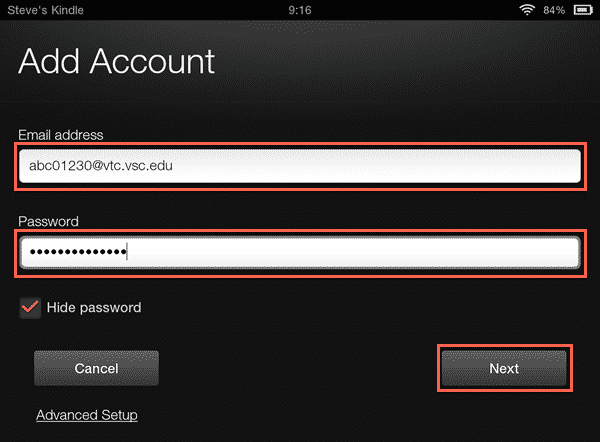
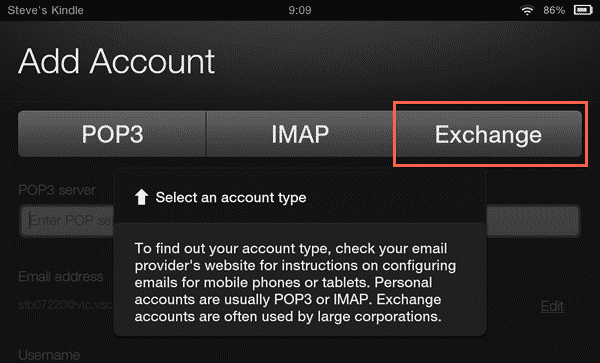
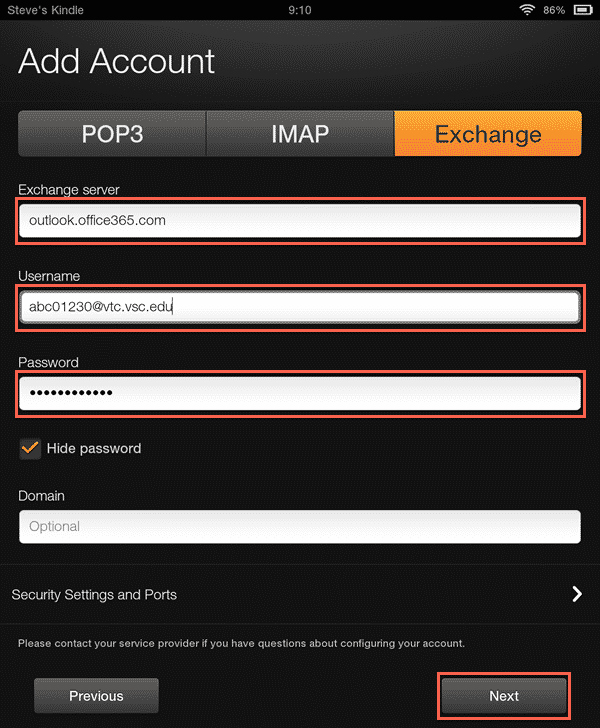
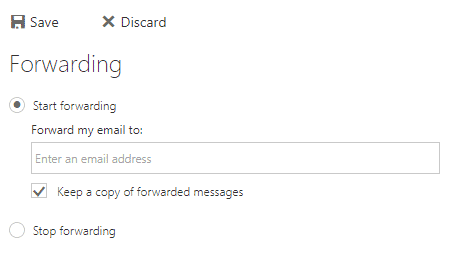
3. Email

  • Click the Email/Calendar tile in the portal to access your email
  • You can access email directly at vtc.edu/mail
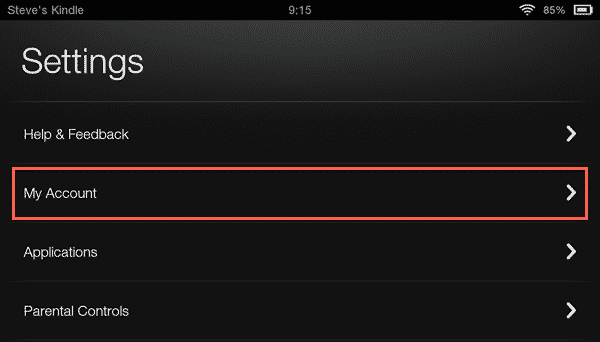
  • You can also setup email on your phone, tablet or computer; we have setup guides located on our support website.
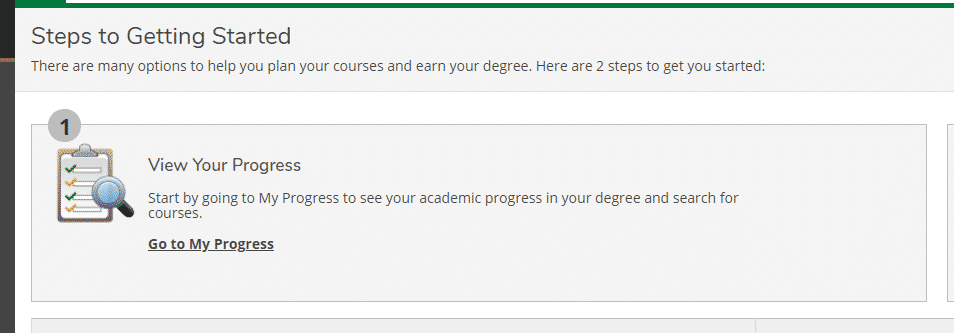
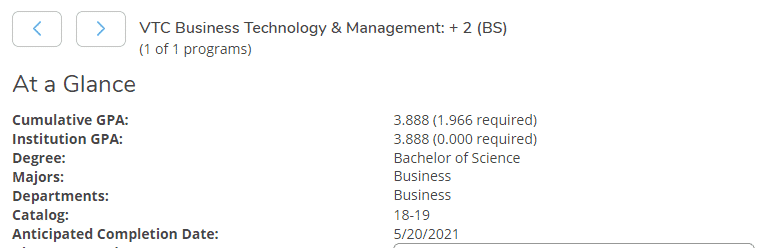
4. Plan Your Degree


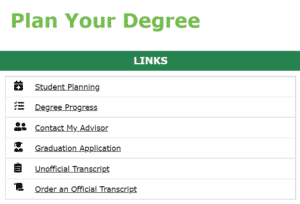
  • Here you can see your Degree Progress, which will let you know what classes you have taken, need to take, and classes that are in progress. You can also fill out your Graduation Application and access your Official and Unofficial Transcripts.

5. Registration

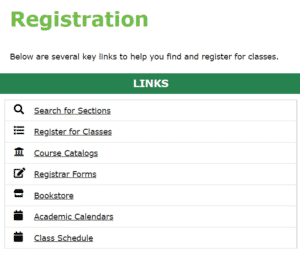
  • Here you Register for Classes and view the Course Catalog.
  • Your Class Schedule and Academic Calendar can also be found on this tile
  • The online Bookstore is also linked here

6. Finances

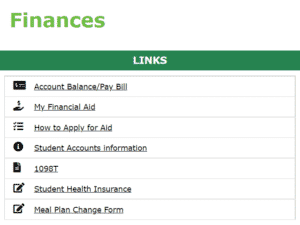
  • You can see your Account Balance and Pay you Bill on this tile.
  • If you have health insurance, you can opt out of VTC Health Insurance by going here and filling out the Student Health Insurance Form. If you do not opt out, you will be charged for health insurance.
  • You can change your meal plan with the Meal Plan Change Form here.
  • When you need your 1098T Form for taxes, you can find that here.
  • You can also see your Financial Aid overview, and access your Student Accounts Information.

If you have questions you can visit them in the Key Student Services Center, located in the first floor of the Administration building, on the Randolph Center campus and they can assist you.

7. Health and Wellness

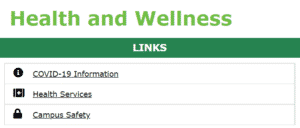
  • Health Services contains resources for physical, mental, and emotional health on campus
  • Campus Safety is where you’ll find the RAVE Emergency Notification information, as well as links to acquire a Parking Permit

8. Academic Support

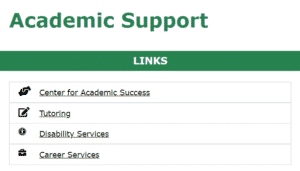
  • You can request a tutor online by clicking on the Tutoring link
  • You will also find links to Career Services, Disability Services, and the Center for Academic Success

9. Wireless

You can connect to the VTCStudents wireless network from most phones, tablets and computers. When connecting, login with your Portal username and password. We have setup guides on our support website.

10. Network Drives and OneDrive

There are several network drives that are made available to students. You have your own personal storage on the M: drive. To access this on a school computer, open a File Explorer window and go to “This PC” from the left-side menu and your network drives will be displayed. To connect to your drives from off-campus or your own personal device, please view our Network Drives Guide.

Microsoft OneDrive is also available to students. You can access it from http://vtc.edu/mail Once signed in to your email, click the menu button in the top-left corner to display OneDrive along with all the other apps available.

Which one to use depends on your usage. For large files or application project files, you will want to use your M: drive. For Microsoft Office documents and smaller files, OneDrive works great because you can access everything through a web browser or use the mobile or desktop app to access files.

11. Printing

There are networked printers all over campus for students to print to. You are given $60 at the beginning of each school year for printing funds. If you need more, you can go to the Student Accounts office to purchase printing cards. You can check your current balance here: https://vtcprinters.vtc.vsc.edu/

12. Educational Software

As a student, you can download and install Microsoft Office on up to five devices for free. This includes the Mac/Windows versions as well as the mobile app versions. For the mobile version, you can download them from the App Store on your device. For Mac/Windows computers, please go here: https://portal.office.com/OLS/MySoftware.aspx

NOTE: When asked to sign in, make sure to use the format abc01230@vsc.edu for your email address, it should then redirect to the VSC logon page where you need to login normally. This will need to be done for both the Mac/Windows and mobile app versions.

You can also purchase several applications or subscriptions from vtc.onthehub.com at discounted rates.

Mailbox Delegation

If you were delegated access to another mailbox there are two ways to access the other email account: Outlook or Outlook Web Access (Webmail). Here are the instructions for both: Outlook 2010 Open Outlook 2010 Click the “File” button in the top-left corner Under the “Info” menu, click the “Account […]

If you were delegated access to another mailbox there are two ways to access the other email account: Outlook or Outlook Web Access (Webmail). Here are the instructions for both:

Outlook 2010

  • Open Outlook 2010
  • Click the “File” button in the top-left corner
  • Under the “Info” menu, click the “Account Settings” button and then select “Account Settings…” from the drop-down

outlook-delegate-01

  • In the “Account Settings” window, click the “Change…” button

outlook-delegate-02

  • In the “Change Account” window, click the “More Settings…” button

outlook-delegate-03

  • In the “Microsoft Exchange” window, click the “Advanced” tab at the top and then click the “Add…” button

outlook-delegate-04

  • Type in the email address of the other email account you were delegated access to, it must be in the format of “email-address@vtc.vsc.edu”
  • Click the “OK” button and then close out of all the windows open and return to the main Outlook screen
  • On the left-side menu, you will notice a second mailbox listed underneath your current mailbox. You may need to click the small arrow next to the account name for it to show all the folders from that account.

outlook-delegate-05

Outlook Web Access

  • Open a web browser and go to Outlook Web Access and login
  • In the top-right corner, click on your name
  • From the drop-down menu, select “Open Another Mailbox…”
  • Type in the email address of the other email account you were delegated access to, it must be in the format of “email-address@vtc.vsc.edu” 
  • Click the “Open” button and the other email account should open in a new tab or window.

Auto-Complete Clearing

If you use Outlook 2010 or 2013, you will receive email bouncebacks if you use the auto-fill feature to email someone that you previously emailed. You can remove them individually by typing in their email address and then pressing the “DELETE” key to remove them, or you can remove all […]

If you use Outlook 2010 or 2013, you will receive email bouncebacks if you use the auto-fill feature to email someone that you previously emailed.

You can remove them individually by typing in their email address and then pressing the “DELETE” key to remove them, or you can remove all auto-complete entries by doing the following:

  • Open Outlook 2010 or 2013
  • Click the “File” button in the top-left corner and then choose “Options”
  • Click the “Mail” tab on the left-side menu
  • Under the “Send Messages” section (about half-way down), click the “Empty Auto-Complete List” button and then click “Yes.”

Kindle Fire HD

Go to “Settings” and then choose “My Account” Select “Manage Email, Contacts, Calendars” Select “Add Account” Enter your username in the format:  abc01230@vtc.vsc.edu and then enter your password Select “Exchange” Enter the following: Exchange Server: outlook.office365.com Username: username@vtc.vsc.edu Password: <Your VTC Password> Domain: <Leave Blank> Select the “Next” button You […]

  • Go to “Settings” and then choose “My Account”

01-kindle-fire

  • Select “Manage Email, Contacts, Calendars”

02-kindle-fire

  • Select “Add Account”

03-kindle-fire

  • Enter your username in the format:  abc01230@vtc.vsc.edu and then enter your password

04-kindle-fire

  • Select “Exchange”

05-kindle-fire

  • Enter the following:
    • Exchange Server: outlook.office365.com
    • Username: username@vtc.vsc.edu
    • Password: <Your VTC Password>
    • Domain: <Leave Blank>
    • Select the “Next” button

06-kindle-fire

  • You will need to accept the “Remote Security Administration” prompt to complete the setup.

07-kindle-fire

  • Email, Contacts and Calendars are now setup.

Outlook Web Access (Webmail)

Direct Access to Webmail The direct webmail address  is: vtc.edu/mail Portal To login to your email within the VSC Portal, click the “Enter your credentials” link on the left-side menu above the calendar. For the username, enter it in the format of  abc01230@vtc.vsc.edu  and then enter your password twice. It will then […]

Direct Access to Webmail

The direct webmail address  is: vtc.edu/mail

Portal

To login to your email within the VSC Portal, click the “Enter your credentials” link on the left-side menu above the calendar. For the username, enter it in the format of  abc01230@vtc.vsc.edu  and then enter your password twice. It will then bring you back to the Portal home page with a link above the calendar showing the number of unread messages.

Forwarding Email

Log into Outlook Web Access (vtc.edu/mail) In the top-right corner, click the gear icon and choose “View all Outlook settings” at the bottom of the menu On the left-side menu under the “Mail” section, choose “Forwarding” Under the “Forwarding” section, enter in the email address that you want your VTC […]

  • Log into Outlook Web Access (vtc.edu/mail)
  • In the top-right corner, click the gear icon and choose “View all Outlook settings” at the bottom of the menu
  • On the left-side menu under the “Mail” section, choose “Forwarding”
  • Under the “Forwarding” section, enter in the email address that you want your VTC email forwarded to and click the “Start Forwarding…” button.